SJ BALL VALVE INSTALLATION GUIDE
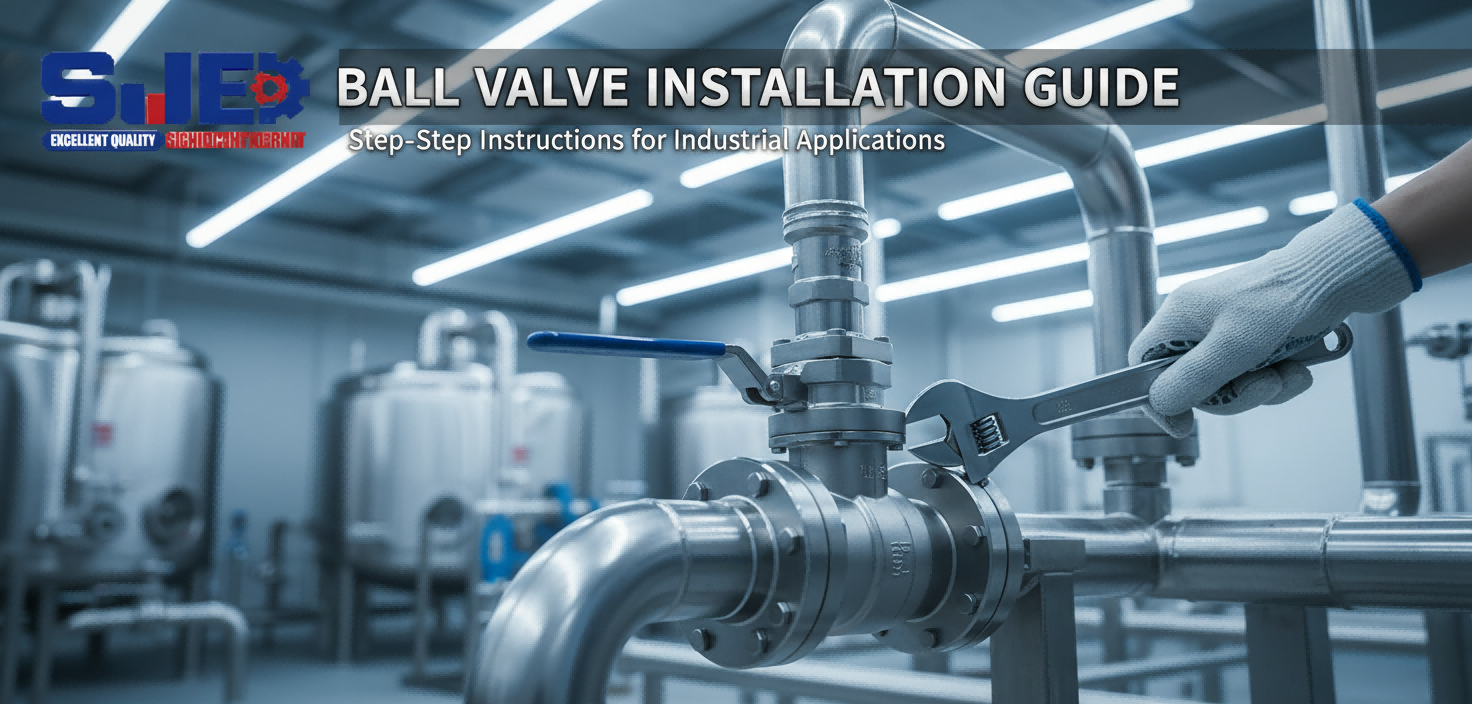
SJ BALL VALVE INSTALLATION GUIDE
Ball valves are widely utilized in industries such as petroleum, chemical processing, power generation, and water treatment due to their simple structure, excellent sealing performance, rapid operation (quarter-turn 90° opening/closing), and ease of maintenance.
The proper installation of a SJ ball valve is not only critical to the stable operation of the fluid control system but also directly impacts the valve's service life and operational safety. This introduction provides an overview of the core principles and preliminary preparations for ball valve installation.
- Q1 What is a ball valve?
- Q2How to change a ball valve?
- Q3 How to install ball valve?
Q1 What is a ball valve?
SJ ball valve utilizes a sphere with a hole (bore) through it to control fluid flow. When the valve is in the open position, the hole aligns with the pipe, allowing water to pass through. When the valve is closed, the ball rotates to block the flow by turning the hole away from the pipe path. Ball valves are commonly used throughout the home, such as under sinks or in water tanks.
Q2 How to change a SJ ball valve?
Tools you will need before you begin, ensure you have the appropriate tools on hand. You will need:
-Adjustable wrench
-Pipe wrench
-Plumber’s tape (Teflon tape / PTFE tape)
-A replacement ball valve (matching the size of the old one)
-A bucket or towels (to catch any residual water)
-Screwdriver (if required for the handle or specific fittings)
Having these tools ready in advance will make the task easier and more efficient.


Preparation Phase
-
Complete Water Shut-off: Turn off the main water supply valve and open the lowest faucet in the system until the water flow stops completely.
-
Verify Specifications: Check the markings on the side of the old valve (e.g., 1/2" or 3/4") and purchase a replacement ball valve of the same size.
-
Prepare for Drainage: Place a bucket or towel underneath the old valve, as there will always be a small amount of residual water trapped inside the pipe during removal.
Removing the Old Valve -
Threaded Connections: Use two wrenches. Use one wrench to hold the pipe steady and the other to turn the ball valve counter-clockwise to unscrew it.
-
Soldered Connections: If the valve is soldered to copper piping, you will typically need to use a pipe cutter to cut the pipe on both sides of the valve. If the remaining pipe is too short, you may need to add a short nipple or use a slip coupling.
-
Compression Connections: Use a wrench to loosen the compression nuts at both ends, then slide the valve off the pipe.
Preparing the Pipe Ends -
Clean the Surfaces: For threaded pipes, use a wire brush to remove old Teflon tape or pipe sealant. For cut pipes, ensure you use a deburring tool to smooth the pipe ends.
-
Inspect for Damage: Confirm that the pipe has no cracks or severe corrosion; otherwise, the new valve may leak after installation.
-
Installing the SJ New Ball Valve
Q3 How to install ball valve?
1.Preparation Before starting, be sure to complete the following preparations:
-
Ensure the main water supply valve is turned off.
-
Open the lowest faucet in the home to drain any remaining water from the pipes.
-
Prepare the necessary tools: pipe cutter, deburring tool, adjustable wrenches, Teflon tape or pipe sealant.
2.Installation Steps for Different Connection Types Threaded Connections (Common for iron, stainless steel, or some PVC pipes) -
Clean the threads: Use a wire brush to clean the external threads at the end of the pipe.
-
Apply Teflon tape: Wrap the Teflon tape 5 to 8 times in the direction of the threads (clockwise), ensuring even coverage.
-
Tighten: Screw the ball valve on by hand first. Then use two wrenches: one to hold the pipe steady to prevent rotation, and the other to tighten the valve. Be careful not to over-tighten, as this may crack the valve body.
Soldering or Heat-Fusion Connections (Copper or PPR pipes) For copper pipe soldering:
-
Use sandpaper to polish the end of the pipe and the internal diameter of the valve until they are shiny, then apply soldering flux.
-
Precaution: Before soldering, set the valve to a 45-degree half-open position to prevent heat from damaging the internal seals.
-
Heat the joint, and once the temperature is sufficient, apply the solder, allowing it to be naturally drawn into the gap.
For PPR pipe heat-fusion:
-
Use a fusion machine to heat the pipe and the valve socket simultaneously.
-
Once the heating time is reached, quickly pull them out and insert the pipe straight into the valve; do not rotate the pipe during this process.
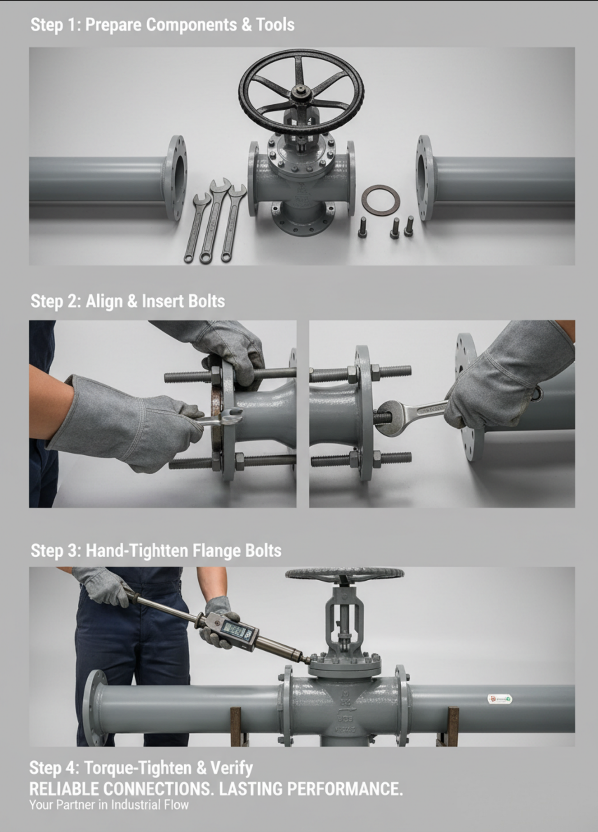
Compression Connections
-
Assembly: First, slide the compression nut onto the pipe, followed by the compression ring (ferrule).
-
Insertion: Insert the pipe completely into the bottom of the ball valve.
-
Tighten: Tighten the nut by hand, then use two wrenches to turn it about one full turn past finger-tight. Remember not to over-tighten, as deforming the ring can cause leaks.
Push-fit Connections
-
Cut and deburr: The pipe must be cut squarely, and internal and external burrs must be removed with a specialized tool, otherwise the internal O-ring may be damaged.
-
Mark the depth: Mark the insertion depth on the pipe.
-
Insertion: Push the pipe firmly into the valve until it hits the bottom and aligns with the mark.
3.Testing and Inspection -
Confirm direction: The ball valve is open when the handle is parallel to the pipe and closed when it is perpendicular to the pipe.
-
Turn on water slowly: After installation, slowly open the main water valve and observe if there are any leaks at the connections.
-
Check the stem: If there is a slight leak at the stem beneath the handle, you can use a wrench to slightly tighten the packing nut.

SJ Valve Web